

Taking the Leap: Your Five-Step Guide to Starting Documentary Filmmaking
Do you dream of telling powerful, real-life stories but haven't taken the crucial first step?

For many aspiring documentarians, getting started can feel overwhelming, like tackling a massive, amorphous project, or they may be waiting for perfect conditions, the right camera, funding, or clear calendar. It’s time to stop waiting. The journey to becoming a documentary filmmaker is less about perfect gear and more about mindset, action, and embracing the process.
Here are five essential steps and insights to help you move from thinking about making a documentary to actually doing it.
1. Be Unconditional
The single biggest barrier creators face is waiting for an arbitrary threshold to be met before they feel ready to begin. This might involve waiting until a specific mic is purchased, until pitch money is raised, or until their schedule opens up. If your success depends on having perfect conditions, your success is conditional. If you want unconditional success, you must be willing to start in any circumstance, and that circumstance is today.
2. Learn by Doing (Not Just Watching)
When navigating the ambiguous overwhelm of translating real life into a coherent film, many people turn to passive education, such as watching instructional videos, bingeing films, or listening to interviews with professionals. While passive education is a useful resource, it should be a small, supplemental piece of your professional development puzzle. The risk of relying solely on it is that it can make you feel like you are getting the necessary practice when, in reality, you are not.
You will grasp the documentary process far better once you film your first scene or conduct your first interview. You will learn more during the process of making your first documentary than you would from 1,000 hours of watching videos about filmmaking.
3. Use What You Have
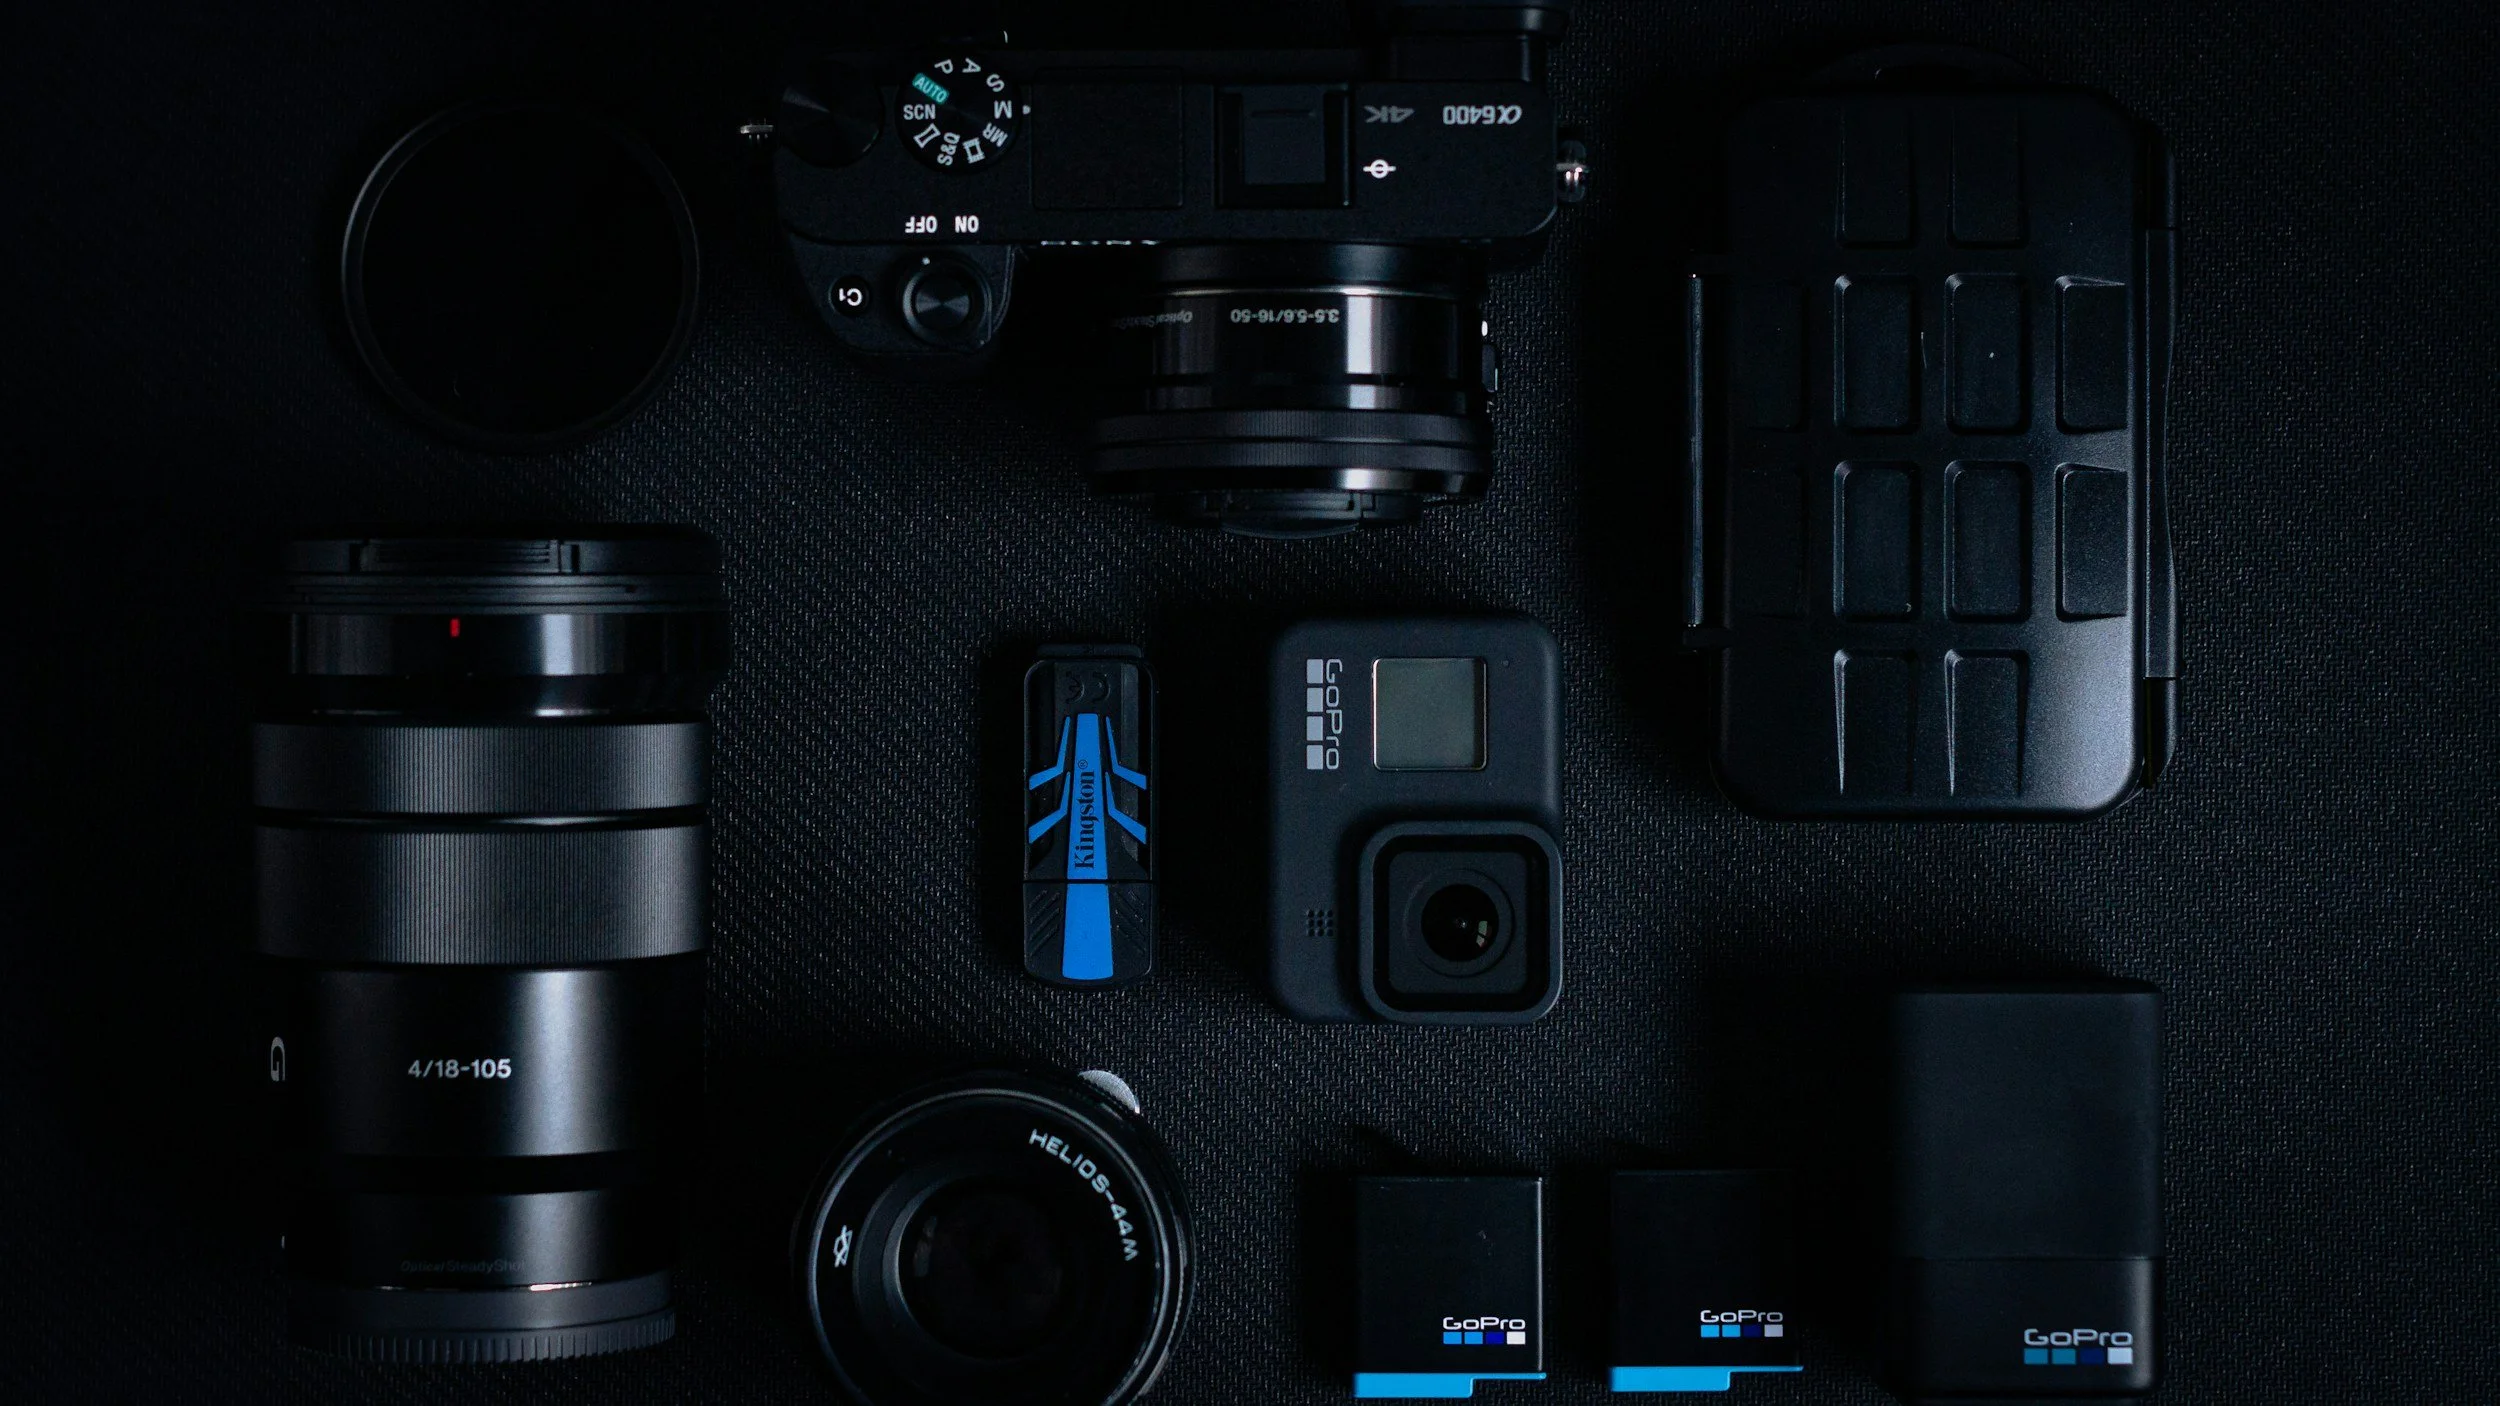
If your focus is truly on creating stories, spending time worrying about gear is a waste of time. You do not need the highest-end cinema camera to begin; simply use whatever recording tools you currently possess. This could be a phone, a borrowed camera from a friend, or even an old family camcorder.
The essential equipment you need boils down to two things: a way of recording visual and auditory information, and software to arrange that information (such as iMovie, Adobe Premiere, Final Cut, or Da Vinci Resolve).
4. Keep the Scope Simple
When starting out, reducing the barrier of entry at every stage—from finding the story to filming, editing, and distributing it—is critical.
• Choose a Story with Easy Access: While you might dream of filming complex, far-off stories, start with the smallest project possible. Select a subject that is close to you, such as your own personal story, the story of someone you live with, or a feature on your close friend group. Choosing a story you are surrounded by means you need to make no effort at all to access it.
• Optimize Production: Plan your production day(s) efficiently, knowing exactly what you are filming and how it fits into the narrative. Focus on short, simple shoots to increase the speed of learning and complete the cycle from start to finish quickly.
• Prioritize Narrative in the Edit: Give yourself a deadline and focus intensely on the flow of the story. Don't worry initially about graphics, fancy transitions, or advanced effects; focus on whether the film is communicating the message you intend.
5. Be Brave Enough to Be Terrible
Aspiring filmmakers often have excellent taste and high standards for the work they want to produce. However, when they first begin, the resulting work may feel disappointing because their killer taste exceeds their current skills. Many people quit at this stage.
There is no shortcut across this gap between your taste and your technical skills; the only way through is by showing up day after day and working on films, even when you feel the output is "not good". Embrace the bravery required to be terrible, as this continuous effort is what transforms you into a great artist.
Tips for Streamlining Post-Production and Distribution
Once you begin the process, integrating professional practices will make your workflow more efficient, especially in the interview-heavy documentary space:
Post-Production with Transcripts
Documentaries often feature extensive unscripted dialogue from interviews. To maintain focus on the narrative and reduce the time spent searching for the perfect quote, transcripts become an essential part of the editing workflow.
• Efficiency: Using a transcript means you don't have to scrub through hours of footage, enabling you to find key soundbites and quotes faster.
• Accuracy: While you can use automated speech recognition, for high-profile interviews or feature documentaries where accuracy is paramount, human transcription services can achieve accuracy around 99%.
• Paper Edit: Transcripts allow you to assemble a "selects doc" containing the chosen time-coded quotes, which can then be organized into main ideas or themes, helping you shape the story before touching the timeline—this is known as a paper edit,,.
Distribution on YouTube
If you plan to share your documentary work on a platform like YouTube, optimizing for visibility and engagement is key:
• Video Length: Videos between 2 to 20 minutes long tend to rank highest, with studies finding that 10–16 minute videos are often well-liked,. Longer videos can rank higher than very short ones if you employ strong storytelling techniques to maintain audience interest throughout.
• Titles and Keywords: Ensure your video title and description are optimized with relevant, clear, and understandable keywords so users can easily find your content. Most trending videos have titles that range between approximately 30 and 60 characters,.
• Thumbnails: Use a compelling custom thumbnail that clearly stands out from auto-generated options. Analysis shows that an image of a person is the most common and effective object found in trending video thumbnails,.
• Timing: For uploading videos on YouTube, the best days are typically Thursday and Friday. During the weekdays, the best time to upload videos is generally between 2 pm and 4 pm, while on weekends, the ideal time is between 9 am and 11 am.
• Engagement Metrics: Track core metrics like Impressions Click-Through Rate (CTR) and Audience Retention. For standard videos, aim for an Average Percentage Viewed (APV) of over 50%. Additionally, encourage your audience to like, share, and comment, as high audience engagement increases the video’s chances of reaching the trending list.